"Architecture is the triumph of human imagination over materials, methods, and men, to put man in possession of his own earth." - Frank Lloyd Wright.

You come home from a long day at work and while channel surfing, you come across a show where guys are buying run-down houses, fixing them up and reselling them for huge profits before the first mortgage payment is due.
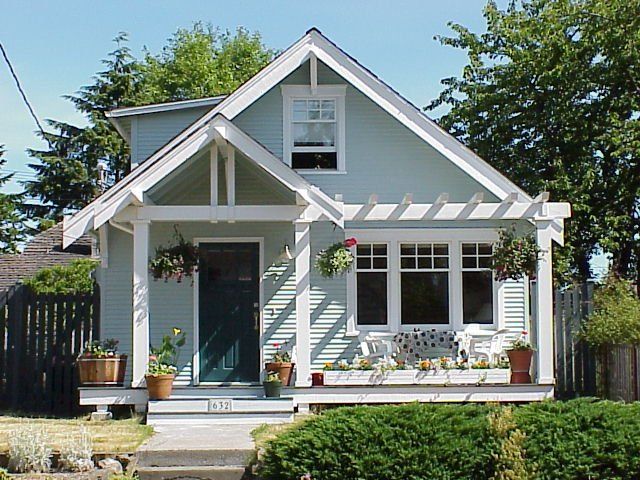
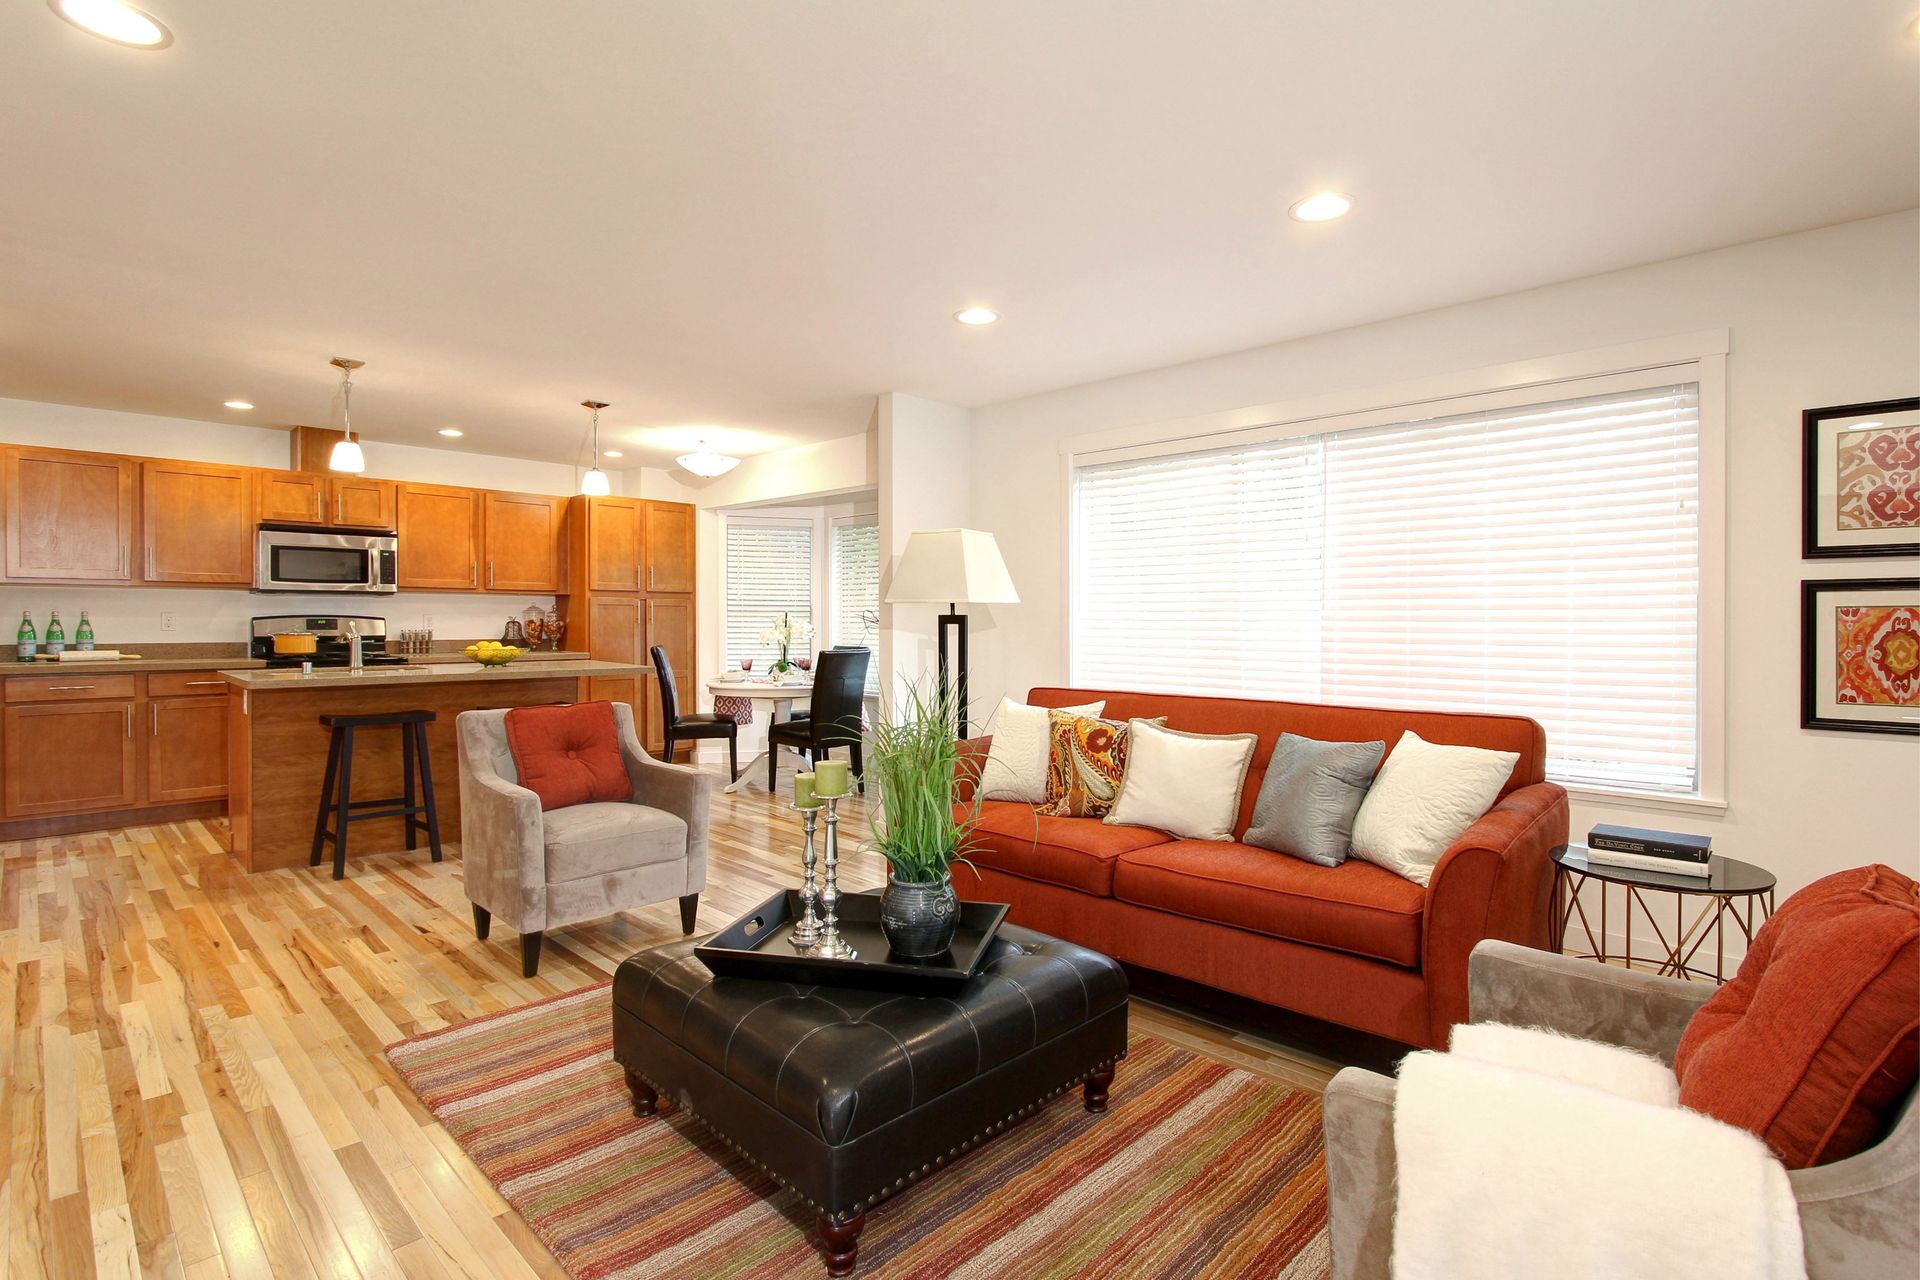
In light of the recent economic meltdown, a new emphasis on the downsizing of the average American home from 2,629 square feet (last year) to 2,419 square feet (this year) has emerged. I thought I would touch on some of the reasons I like small homes.

One hurdle that inevitably pops up at the beginning of many new design relationships is the notion of price gouging. Many new clients routinely ask about the potential for us to increase our fees because they believe we will specify expensive materials in order to simply increase the cost of construction and consequently our design fees.

Whenever I am approached by a new client, inevitably one of the first questions asked is how I can help realize their project goals. Often, clients have a vague notion of what they want to achieve - for example, build a new dream home, tenant improvements to an existing commercial space, develop a mixed-use project - but aren't quite sure how to proceed from dreams to reality. Read this post to learn 10 ways an Architect can help you.
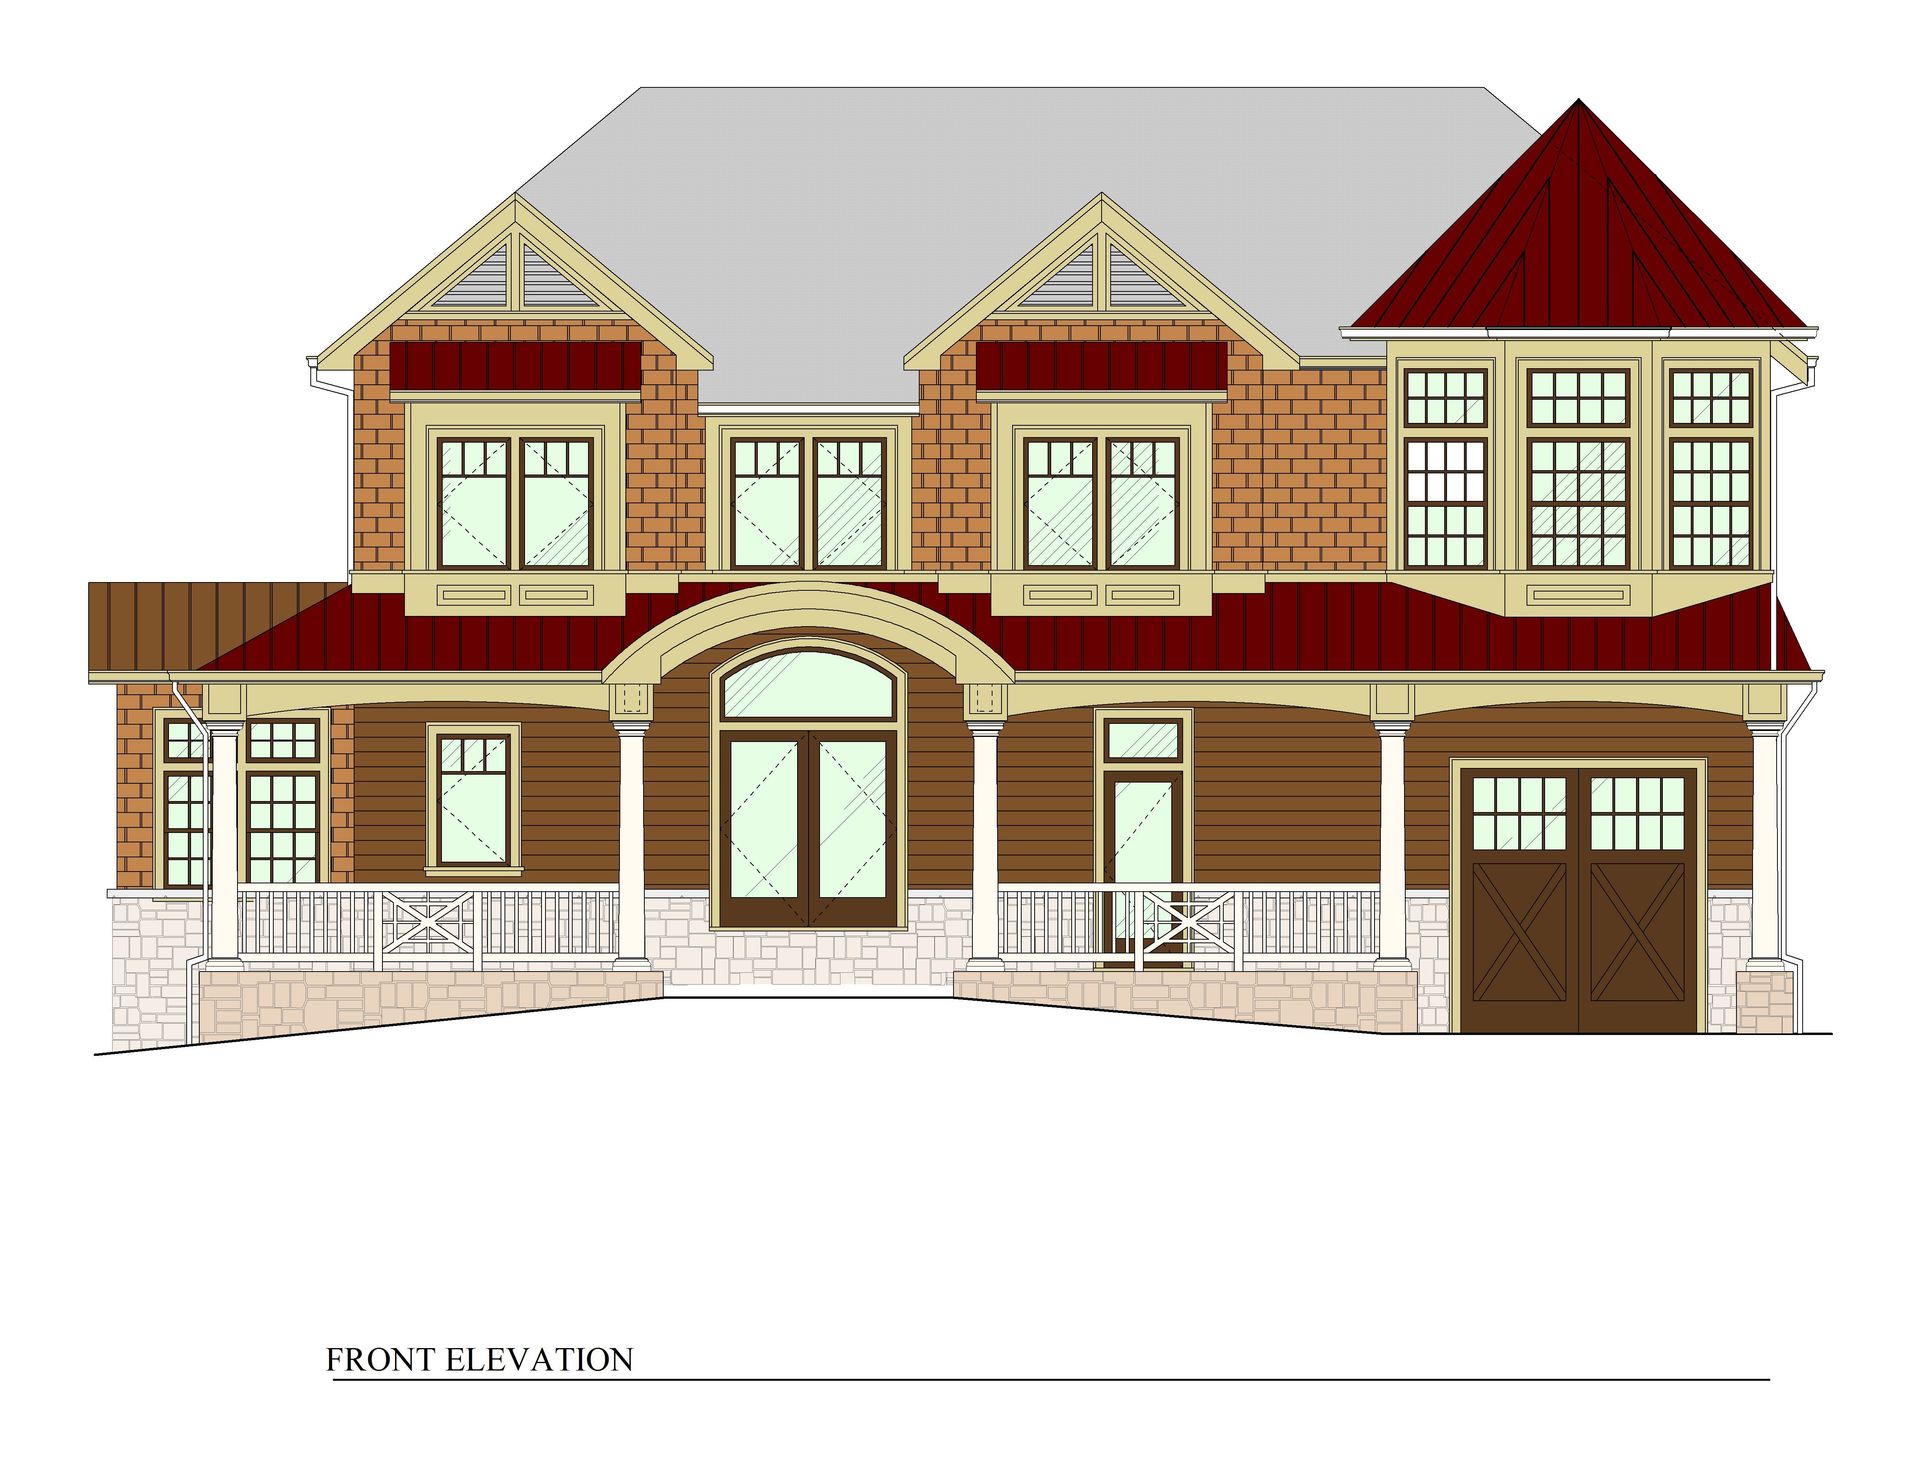
The following design items affect your project's cost. Shuler Architecture will work with you to make these necessary decisions in a timely manner, which will allow you more control over your costs.
Determining architectural fees are a mystery to most people, including architects. As a group, architects tend to be collaborative in their work with clients which can lead to misgivings about charging for professional services. For many design professionals, sending as invoice to a client is tantamount to bad taste. Additionally, tracking scope creep and recognizing when our efforts would be billed as additional service causes confusion on almost every project. Finally, pricing design services is a complicated undertaking because of the large number of complex variables that exist on every project. Site constraints, jurisdictional requirements, building type and complexity, and localized environmental factors all contribute to determining the fee.